ISO 9001:2015/AS 9100:Rev. D/SBA Certified
View Certifications
Keensert Installation
Video
A walkthrough of the Keensert installation process and what to look for at each stage, from hole preparation through final inspection.
How are Keenserts installed?
Keenserts are installed by preparing the receiving hole, tapping it to the applicable thread size, driving the insert into the hole, and then using broach tooling to set the hardened locking keys into the surrounding parent material. A demonstration video for this process is in production.
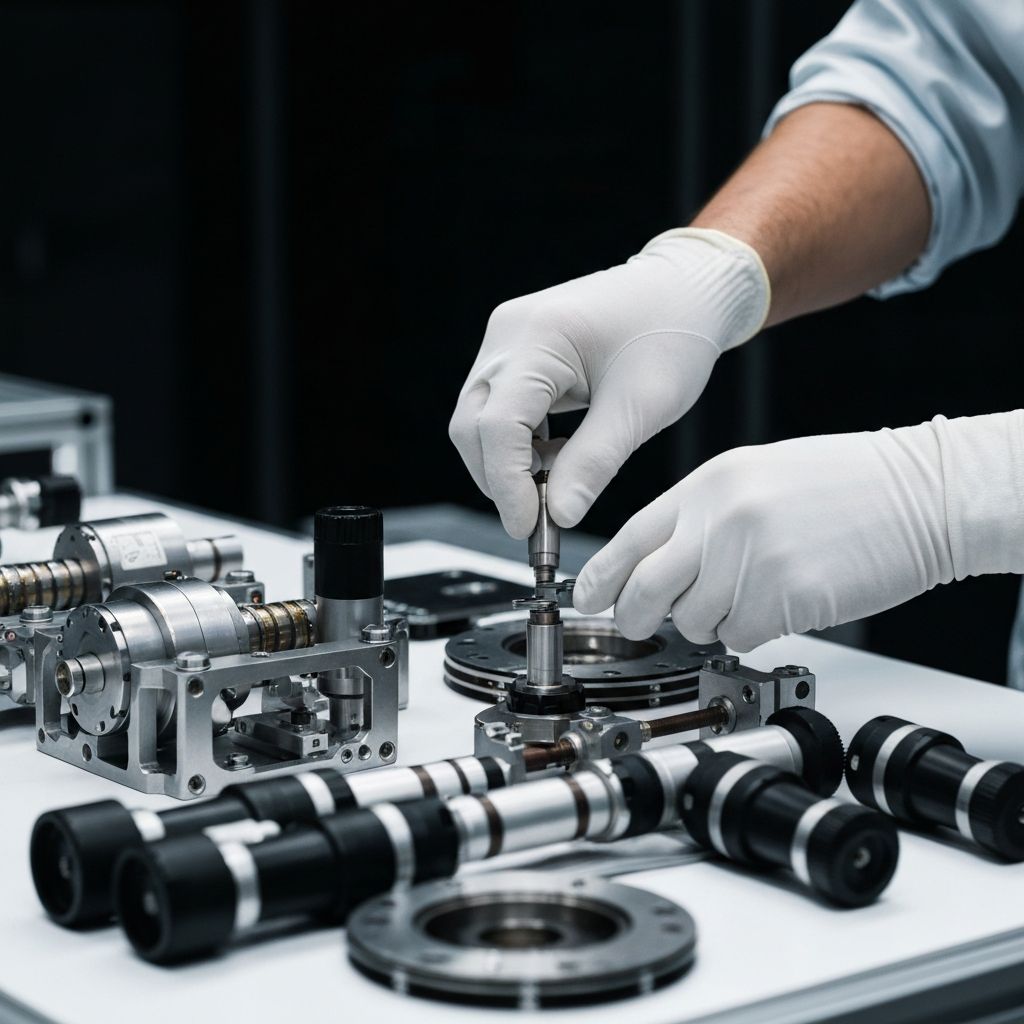
Keensert Installation Video — Coming Soon
A recorded demonstration of the Keensert installation process is in production. In the meantime, the written installation guide below covers the same process step by step.
What to Look For During Installation
The stages a Keensert installation video will demonstrate, in sequence.
Hole preparation
Drilling, and countersinking where required, to the diameter and geometry specified for the insert being installed.
Tapping
Cutting clean, fully formed threads in the prepared hole using the tap specified for that insert.
Insertion
Driving the insert body into the tapped hole to the specified installation depth using the correct insertion tool.
Locking-key installation
Using broach tooling to drive each hardened locking key into the surrounding parent material, setting the mechanical lock.
Final inspection
Verifying seating depth, key setting, and finished thread condition against the governing acceptance criteria.
Keensert Installation Video FAQ

Need Professional Keensert Installation?
American Precision Assembly installs Keenserts and key-locking threaded inserts for aerospace and defense assemblies under an AS9100D certified quality system.
Contact Information
Huntington Beach, CA 92649